Introduction
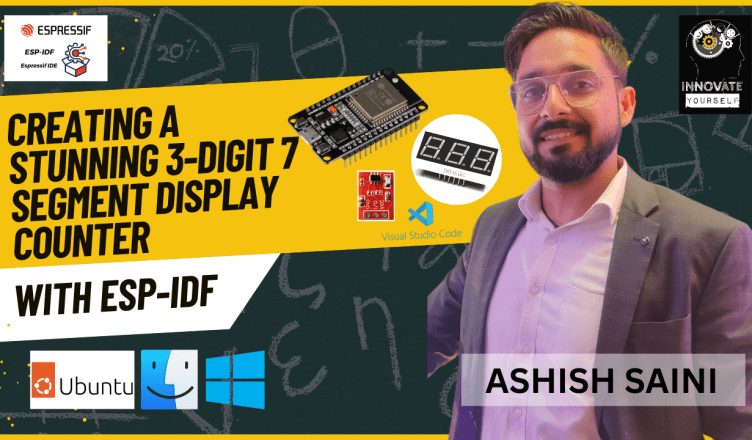
Welcome to our latest DIY electronics project, where we dive into the fascinating world of ESP-IDF and create a captivating 3-digit 7 segment display counter. In this blog post, we will guide you through the step-by-step process of building this mesmerizing counter that combines cutting-edge technology with user-friendly touch sensor controls. Whether you’re a seasoned electronics enthusiast or a curious beginner, this project is sure to spark your creativity and leave you in awe of what the ESP-IDF framework can achieve. So, let’s embark on this electrifying journey to touch the future together!
Step 1: Gather the Components
Before we delve into the technical details, let’s ensure we have all the required components ready for our project. You will need:
- ESP32 Development Board: The heart of our project, the ESP32, offers remarkable processing power and extensive capabilities for IoT applications.
- 3-Digit 7 Segment Display: This vibrant and versatile display will showcase our counter’s output with clarity.
- Touch Sensor Module: A touch sensor will serve as an intuitive input method, making the counter interactive and user-friendly.
- Breadboard and Jumper Wires: These essentials will help us create a neat and organized circuit layout.
- Power Supply: Provide a stable power source to ensure our counter runs flawlessly.
Step 2: Setting Up the Development Environment
Now that we have our components ready, let’s set up the development environment to program the ESP32 using the ESP-IDF framework. Follow these steps:
- Install ESP-IDF: Visit the official ESP-IDF website and follow the installation instructions for your operating system. This framework provides the necessary tools for building advanced IoT applications.
- Configure Your Project: Create a new project and configure it for the ESP32 development board.
Step 3: Wiring the Circuit
Time to get hands-on with our project! Connect the 3-digit 7 segment display and the touch sensor module to the ESP32 development board as per the pinout configuration in your project settings. Double-check the connections to avoid any errors.

Step 4: Programming the ESP-IDF
With the circuit wired up, let’s write the code to control the 7 segment display and handle touch sensor inputs using ESP-IDF’s rich library of functions. We’ll display the count value on the 7 segment display and increment it with each touch. The ESP-IDF documentation offers extensive resources to guide you through the programming process.
Step 5: Testing and Calibration
After successfully programming the ESP32, it’s time to test our 7 segment display counter. Power up the circuit and ensure that the touch sensor accurately increments the count value. Perform any necessary calibrations to enhance the touch sensitivity.
Step 6: Enhancements and Personalization
Now that we have a working 3-digit 7 segment display counter, let your creativity shine! Consider adding features like an auto-reset function, custom digit patterns, or even integrating it with other IoT devices. The possibilities are endless, and ESP-IDF allows you to explore them to the fullest.
DOWNLOAD FULL CODE
Conclusion:
Congratulations on creating your very own 3-digit 7 segment display counter using ESP-IDF! This project exemplifies the seamless integration of modern technology with a classic display concept, offering a glimpse into the future of electronics. We hope you enjoyed the journey and that it inspired you to embark on more exciting ESP32 projects.
Remember, innovation and exploration are key in the world of electronics. So, keep experimenting and pushing the boundaries of what’s possible. The future is at your fingertips, waiting to be touched with your ideas!
Also, check out our other playlist Rasa Chatbot, Internet of things, Docker, Python Programming, MQTT, Tech News, etc.
Become a member of our social family on youtube here.
Stay tuned and Happy Learning. ✌🏻😃
Happy tinkering!


