

Overview
In this post, you will learn,
1. How to create a project on twilio for sending/receiving messages
2. How to integrate rasa chatbot with whatsapp to automate your business
3. How to make your chatbot global for free
4. How to setup rasa chatbot on whatsapp to talk to your bot
From the previous blogs you must have learnt that how you can build your own Rasa chatbot. In this blog you will learn how to setup your chatbot on whatsapp via twilio. For that you must first have you chatbot in working condition with you. Then we will setup your chatbot on whatsapp and for that follow the steps below.
Creating a project on twilio for sending/receiving messages
First, go to www.twilio.com and create an account on twilio if you are a new user or login to twilio with the login credentials. After that you will get an option to create a new project on the home window if you are a new user or if you are a returning user you will get like the one shown here:

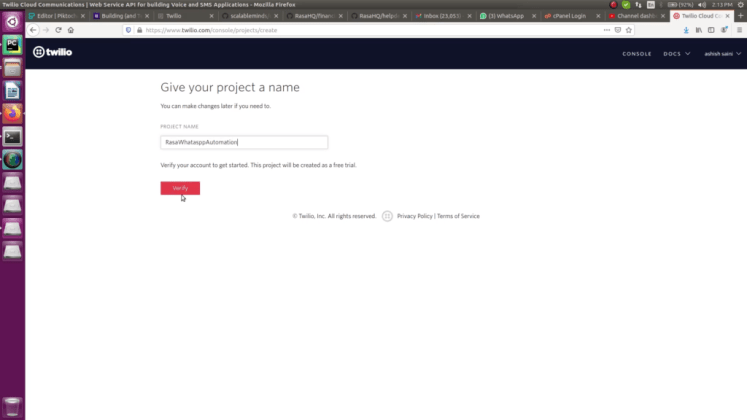
In the above image you can see an option “Create New Project” , click on that and it will redirect you to new page asking you for the project name as shown below.
After giving a name to your project click on verify and then it will redirect you to the next page to verify you mobile number and email ID as shown here:

Now verify the email ID and phone number here. After this it will redirect you to the next page confirming that what do you want this project and how are you going to use this project.

Fill the details and and click on continue. This will create your project on twilio and will redirect you to the dashboard of your project as shown below.

On the dashboard you can see many options as well as the access tokens. Here you will find the Account SID and Auth Token that we require to add to the rasa project in credentials.yml so that we can link our rasa project to whatsapp.
credentials.yml
twilio:
  account_sid: "replace_account_sid"
  auth_token: "replace_auth_token"
  twilio_number: "whatsapp:+14155238886"
Now Goto All Products & Services > Programmable Messaging > Try It Out > Try Whatsapp


Now it will ask you to activate your Sandbox, select agree and click on confirm. Now it will redirect you to a page where we will start linking our whatsapp to our rasa chatbot.

Once you will reach this page you will see it will ask you to send a message on whatsapp on the given number. Message and number you will get on this page. And once you will send the given message on the given number you will notice that the status will change from waiting to message received. After that go to next steps “Twilio Sandbox for Whatsapp”.

Here, you will see that it is asking for the api. Here you have to add a global api for rasa chatbot where the messages from whatsapp will be posted. For making a global rest api for rasa either use ngrok or deploy the chatbot on the live server and mention the rest api as per that. The rest api will look something like this,
http://<host>:<port>/webhooks/twilio/webhook
replace the host and post with the one that you have with you either through ngrok or from the live server. Edit it in “WHEN A MESSAGE COMES IN” and save the configuration. Now whatsapp has been setup successfully.
For more clarification check this video,
If you are running you chatbot with ngrok then before testing your chatbot on whatsapp, first run rasa chatbot locally and also run the action server parallely, and then test your chatbot on whatsapp.

I hope you have enjoyed setting up your rasa chatbot on whatsapp and you must be able to setup your chatbot on whatsapp. But still if you have any doubts then feel free to leave a comment below.
So stay tuned and for now Happy Learning. 😀 (Y)


